|
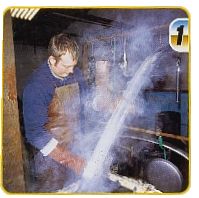
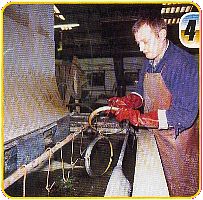
First step was to submerge painted Items in a caustic soda solution to remove the paint.This made very light work of the aluminium paint used on the back of VW bumpers. (Yes, we know this isn't our Beetle bumper but it was the best picture, OK?!) | |
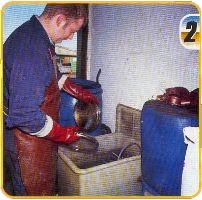
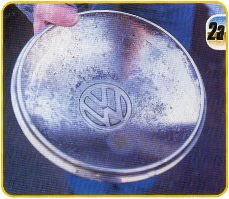
Pics 2 & 2a: items such as the hubcaps, went into a hydrochloric acid dip to neutralise and destroy the rust that had formed inside them. |
 |
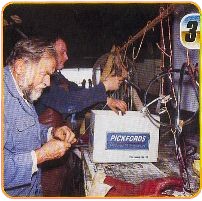 |
Graham and Alan then individually hung all our separate Items on copper wires to conduct the electricity whilst In the plating solutions. Even this stage, which looks easy, requires skill and knowledge to ensure the current flows properly through each item, and also that they hang right, so as not to trap the gases given off during plating which would ruin the finished job. |
 |
The old chrome is then strippe off in a solution of 90% pure sulphuric acid in a tank that would have felt right at home in Dennis Nilson's old gaff. | 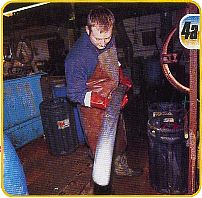 |
Here's Alan, the big cheese at Marque Restore, with our front bumper in its bare, naked glory. As it wasn't rusty in the first place, stripping It only took about one hour. Again, timing is all important here, else items will literally be eaten away by the acid. |
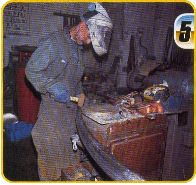 |
If there's any repair work needed,now's the time to do it. Here, Malcolm is hammering out a small kink in the bottom edge of our bumper. More complex repair work is either undertaken in house or at a tinsmiths out of house, depending on what's involved. | 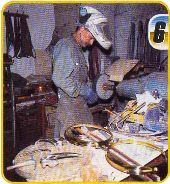 |
Pics 6, 6a and 6b: this is the bit that sorts the professionals from the cowboys. Time spent here, getting the polish work right, pays great dividends in the long run. Items such as the complex quarter light frames were extremely fiddly and time consuming. Alan told us they could have made an even better job of it if they had taken the catch assembly apart completely but, as this would have meant drilling out the factory rivets, we opted not to do it. |  |
| |